How to Nickel Plate Brass: A Step-by-Step Guide
Have you ever admired the lustrous sheen of nickel-plated brass and wondered how you could achieve that same polished finish…
Imagine transforming your old metal items into shiny, new-looking treasures with just a bit of nickel plating at home. Intrigued? You’re not alone. Nickel plating can seem like a daunting task, but with the right guidance, it’s entirely doable—even for beginners. In this step-by-step guide, we’ll walk you through everything you need to know to start nickel plating at home, from gathering the necessary materials and preparing the electrolyte solution to setting up the process and ensuring safety. By the end of this guide, you’ll have the confidence and knowledge to give your metal items a new lease on life. Ready to get started? Let’s dive in!
To perform nickel plating at home, you need a pure nickel source, typically used as the anode in the electroplating process. Pure nickel strips or plates, which should be at least 99.5% pure, are ideal for this purpose. You can buy these from online retailers, scientific supply companies, or specialty metal shops. Pure nickel ensures a consistent and high-quality plating layer.
The electrolyte solution is crucial for the electroplating process as it facilitates the transfer of nickel ions onto the object being plated. The main components of the electrolyte solution are distilled white vinegar with an acidity of 5% or higher and 1/8 teaspoon of non-iodized salt. The non-iodized salt enhances the solution’s conductivity, which is essential for efficient electroplating.
A low-voltage DC power supply is necessary to drive the electroplating process. A 6-Volt battery is suitable for small projects because it provides a relatively low and stable amount of power. Smaller objects require less current to achieve an even plating, and a 6-Volt battery can deliver just the right amount without over – plating or causing uneven results. An adjustable power supply capable of providing 1 – 3 amps is ideal for larger projects. The higher amperage allows for a faster deposition of nickel ions, reducing the plating time for larger surface areas. It also provides more precise control, enabling you to adjust the current according to the size and requirements of the object being plated.
Safety and cleanliness are paramount in nickel plating. You need nitrile gloves to protect your hands from chemicals, safety glasses to shield your eyes from splashes, dish soap for initial cleaning of the object to be plated, metal cleaners and polishes for deeper cleaning to ensure the surface is free of contaminants, and distilled water for rinsing the object after cleaning and during the plating process.
In nickel plating, an electrolyte is a solution that conducts electricity and enables the movement of ions. This is essential for the electrochemical deposition of nickel onto the metal surface. The electrolyte solution facilitates the movement of nickel ions from the anode (pure nickel) to the cathode (the object being plated), enabling the electroplating process. A well-prepared electrolyte ensures a smooth, even coating and prevents impurities from affecting the plating quality.
To prepare the nickel acetate solution, you will need the following ingredients:
Start by assembling the DC power supply. For home projects, a 6-volt battery or a variable power supply is ideal.
A clean and smooth metal surface is essential for successful nickel plating. Follow these steps for proper surface preparation:
Now that the power supply is assembled and the metal surface is prepared, you can begin the electroplating process.
Always wear protective gloves before beginning the nickel plating process. Nitrile gloves are a great choice due to their chemical resistance. Also, wear safety goggles to protect your eyes from potential splashes of chemicals or electrical components. A lab coat can prevent skin contact with harmful substances.
Work in a well-ventilated area, such as a room with open windows or a fan, to minimize inhaling fumes produced during plating.
Use a low-voltage DC power supply to avoid electrical shocks. Before starting, carefully inspect all electrical equipment for any signs of damage, such as frayed wires or loose connections.
Nickel acetate solution is toxic. Keep your workspace clean and avoid ingestion. Clean up any spills immediately.
After the plating process, do not pour the nickel plating solutions or contaminated materials down the drain. Take them to a local hazardous waste collection site to prevent environmental pollution.
Unless you have extensive knowledge in chemistry, do not add random chemicals to the plating bath. This can create toxic substances or affect the quality of the plating.
Before plating, ensure the surface of the object is completely clean. Remove any grease, dirt, or oxidation. This is not only important for good adhesion of the nickel plating but also for safety reasons.
After plating, thoroughly rinse items with distilled or deionized water to remove any remaining chemicals. Then, dry them completely to prevent water spots from forming.
If there are children around, make sure they are supervised and kept away from the plating area at all times.
Regularly inspect your equipment and workspace for potential hazards. This can help prevent accidents during the nickel plating process.
After nickel plating an object at home, start by rinsing it thoroughly with deionized water. This step is crucial to remove leftover plating solution chemicals. Deionized water is preferred because tap water can leave behind mineral deposits, which may affect the finish of the plating. Make sure to rinse every part of the object to ensure a clean surface.
Once rinsed, dry the object completely. You can use a lint-free cloth to gently pat it dry or compressed air to blow away the water. Avoid leaving water spots on the surface and minimize the object’s air exposure. Ensure the object is dried thoroughly to prevent oxidation before applying any additional coatings.
Next, carefully inspect the nickel plating. Check for uniformity, thickness, and any defects such as discoloration or uneven patches. If you find any issues, consider re-plating or touching up the affected areas. Before doing so, clean and activate the surface to ensure better adhesion of the new plating.
To improve the durability of the nickel plating, you can perform a heat treatment. Gradually heat the plated components to a specific temperature and then cool them down slowly. This process reduces internal stresses. Additionally, applying a sealant over the nickel-plated surface can protect it from environmental elements and enhance its corrosion resistance.
When handling post-plating chemicals, wear protective gloves and goggles. Work in a well-ventilated area to avoid fume inhalation. After the post-plating care process, store the plated items in a dry and clean environment to prevent contamination.
To achieve a mirror-like finish, first use fine abrasives to remove surface irregularities and then buff with even finer ones for further refinement. Make sure that the polish you use does not leave behind waxes or oils that could damage the plating.
Choose 90% to 100% pure nickel from affordable sources such as nickel welding rods or pure nickel plates available at metal supply shops. Avoid using nickel-plated coins due to impurities; instead, create an electrolyte solution with distilled vinegar (5% acidity), a pinch of table salt, and distilled water. These components are inexpensive and can be easily found at local grocery stores.
Compare prices from various suppliers before purchasing. Online marketplaces may offer better deals on items like nickel plates and power supplies. Also, consider the long-term cost. Homemade electrolyte solutions are much cheaper than buying commercial plating kits.
After plating, filter the electrolyte solution to remove debris and particles. You can then reuse the solution for future plating projects, which not only reduces waste but also cuts down on the cost of making new solutions.
If you have leftover nickel from the anode after plating, you can recycle it. Keep it in a dry place and use it in subsequent plating jobs. This maximizes the use of your nickel and minimizes waste.
Operate at low voltage (1V to 4.5V) and set the current to approximately 1 amp for electroplating. This reduces energy consumption and makes the process more sustainable. You can also use a DC power supply or adapt a laptop charger or automotive battery charger, which are relatively energy-efficient.
Run the electroplating process for shorter intervals with intermittent polarity reversals. This helps reduce waste and prevent the formation of unwanted precipitates, making the process more efficient and environmentally friendly.
Below are answers to some frequently asked questions:
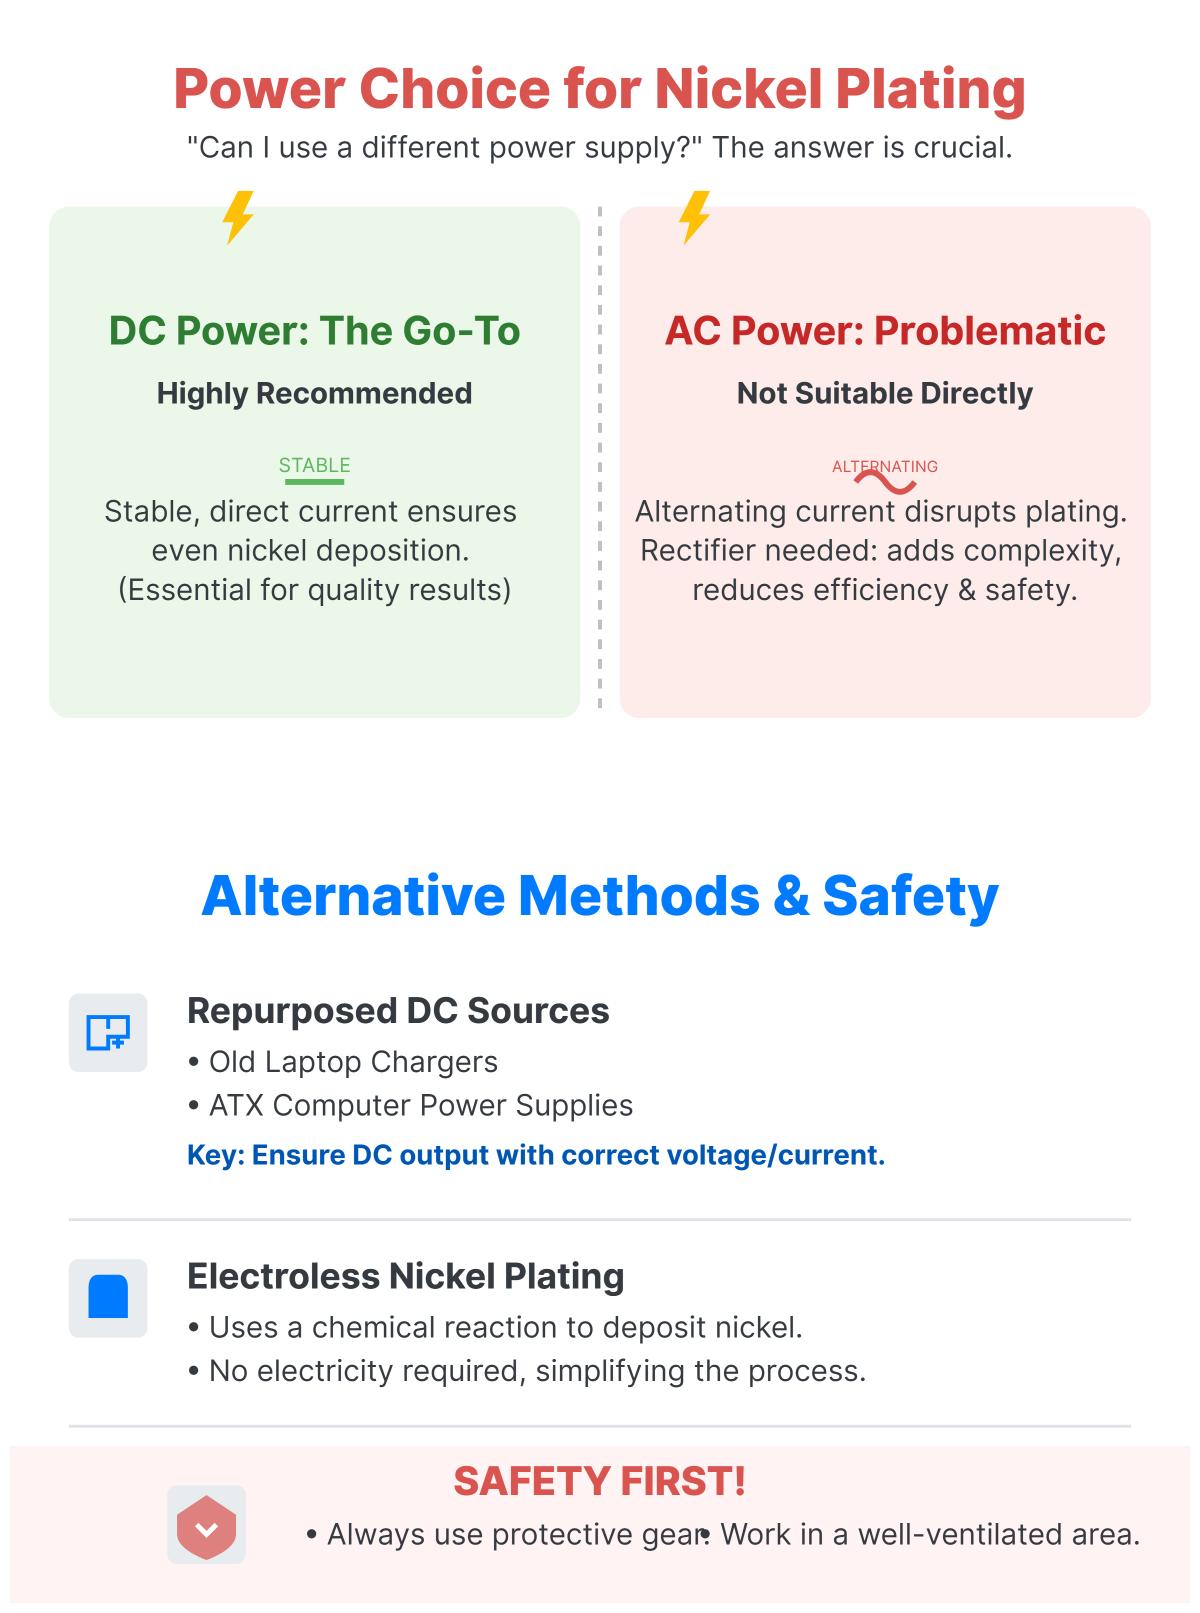
While you may consider using a different type of power supply for nickel plating at home, a DC power supply is highly recommended. DC power supplies provide a stable, direct current essential for the electroplating process, ensuring even deposition of nickel ions onto the object being plated. Using an AC power supply directly is not suitable because AC current alternates and would disrupt the plating process. It would need to be converted to DC using a rectifier, which can complicate the setup and potentially reduce efficiency and safety.
If you don’t have a dedicated DC power supply, alternatives like old laptop chargers or ATX computer power supplies can be repurposed, provided they output DC and have the correct voltage and current specifications. Another option is electroless nickel plating, which uses a chemical reaction to deposit nickel without electricity, simplifying the process.
Always prioritize safety by using suitable protective gear and working in a well-ventilated area.
The nickel plating process at home typically takes anywhere from a few minutes to an hour, depending on the specific setup and the desired thickness of the nickel layer. Electroplating, which involves immersing the object in a nickel solution and applying an electric current, generally requires more time. The duration can be influenced by factors such as the size of the object, the efficiency of the electroplating setup, and the thickness of the coating you aim to achieve. It’s crucial to follow safety guidelines throughout the process to ensure both the quality of the plating and your personal safety.
If the nickel plating doesn’t adhere properly to the metal surface, start by ensuring that the surface is thoroughly cleaned. Remove any contaminants like oil, dirt, or oxidation using proper cleaning agents and techniques, such as degreasing with solvents or alkaline cleaners. Next, polish the surface to create a smooth, uniform area for the nickel to adhere to.
Another important step is to apply a thin initial layer of nickel, known as the strike layer, which helps improve adhesion. Proper activation of the surface with an acid or chemical solution can remove any remaining impurities or oxides.
Check the chemistry of your electrolyte solution to ensure proper pH and temperature levels, as imbalances can affect adhesion. Monitor the current density during the plating process, as incorrect settings can also impact the outcome.
If you continue to experience issues, consider using specialized adhesion-promoting coatings designed for nickel plating. Regularly inspecting the process and conducting adhesion tests, like the adhesive tape test, can help identify and address problems early. By following these steps, you can improve the adhesion of your nickel plating.
Yes, there are alternatives to using nickel acetate solution for nickel plating at home. One common alternative is nickel chloride solution, which can be prepared by dissolving nickel chloride in water. However, it’s important to handle nickel salts with proper safety equipment, including gloves and goggles, due to potential health risks.
Another method involves using acids such as hydrochloric acid (HCl), sulfuric acid (H2SO4), or nitric acid (HNO3) combined with hydrogen peroxide to dissolve nickel, creating an electrolyte solution. These acids are highly corrosive and require careful handling, making them less ideal for beginners.
For those looking for safer and more convenient options, commercial nickel plating kits are available. These kits come with pre-formulated electrolytes and detailed instructions, making the process easier and safer for home use.
When choosing an alternative, consider factors like safety, ease of use, and availability. Commercial kits or making a nickel acetate solution from vinegar and nickel may be the most accessible and beginner-friendly options.
Home nickel plating can have several environmental impacts. The process generates wastewater with toxic metals like nickel and acids, which can lead to water pollution if not properly disposed of, harming aquatic life and contaminating drinking water. It also releases chemicals and metals into the air, contributing to air quality issues and potentially causing respiratory problems. Improper waste disposal can contaminate soil, affecting plant growth and the food chain. To mitigate these impacts, use proper waste disposal at hazardous waste collection sites, adopt energy-efficient practices, and handle chemicals safely in well-ventilated areas. Exploring alternative plating methods can also help reduce environmental harm.
Yes, you can reuse the electrolyte solution for home nickel plating, which is cost-effective. The electrolyte is usually made by dissolving nickel in a vinegar and salt solution. Store it in a sealed container to prevent contamination and oxidation. The nickel acetate solution can last indefinitely if stored properly, though it may change color over time. A color change to brown might still allow for use, but monitor plating performance. Ensure the solution is free of contaminants and hasn’t degraded significantly; if plating quality drops, prepare a fresh solution.

