How to Remove Corrosion from Copper: Effective Methods and Tips
Have you ever noticed unsightly greenish – brown patches on your copper items? That’s corrosion, and it can quickly turn…
Have you ever gazed at a piece of copper and thought about transforming its natural sheen with a splash of color? Painting copper can seem daunting, especially if you’re new to the world of DIY projects, but it’s a rewarding way to personalize your metal items. In this beginner-friendly guide, we’ll walk you through each step of the process, from preparing the copper surface to applying the perfect finish. You’ll learn how to clean, sand, and prime the copper, as well as discover the best types of paint to use for a durable and beautiful result. Ready to turn that plain copper into a masterpiece? Let’s dive in and explore the step-by-step instructions that will help you achieve a flawless painted finish.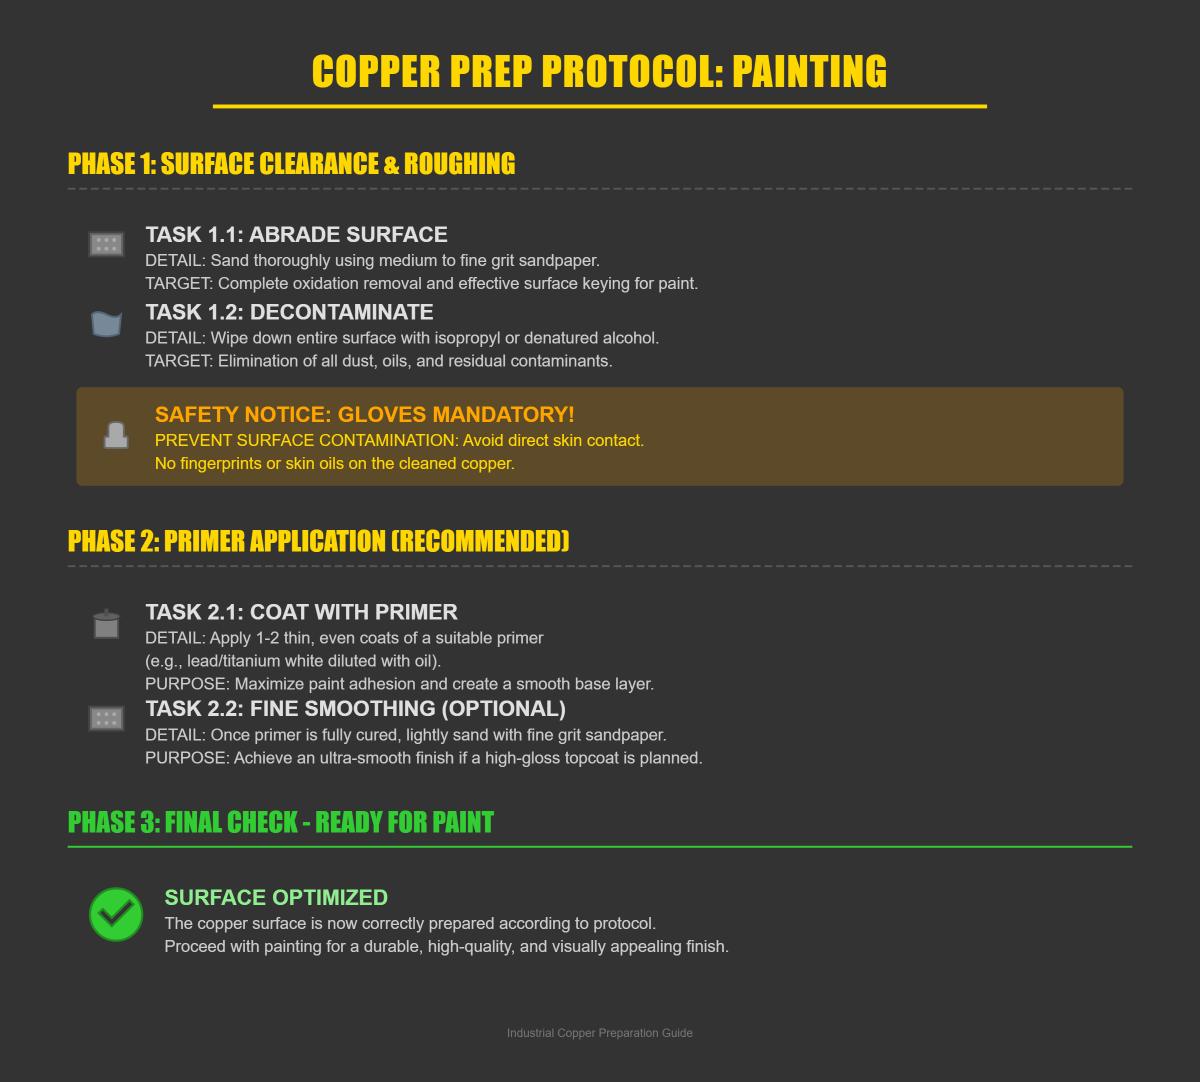
Painting on copper requires careful preparation and technique to achieve the best results. Each step, from surface preparation to final touches, contributes significantly to the overall quality and durability of the artwork. Skipping or improperly executing any step can lead to issues such as poor paint adhesion or uneven finishes.
Painting on copper offers several unique benefits that make it an attractive option for artists:
Before starting, gather the necessary materials:
Proper surface preparation is crucial for successful painting on copper:
While priming is optional, it can enhance paint adhesion and durability:
For traditional priming, rub the surface with garlic juice to enhance primer adhesion, followed by lead white primer, or use modern acrylic gesso for a non-toxic, quick-drying base.
Explore different painting techniques to make the most of copper’s unique properties:
Ensure your painting remains in excellent condition by following proper drying and preservation methods:
Let your painting dry naturally, away from heat sources, as copper conducts heat and could cause the paint to crack. Apply a protective coat (e.g., damar varnish) once fully dry to prevent tarnishing.
Here are some tips to help you achieve the best results when painting on copper:
Painting on copper can be a rewarding experience, offering unique aesthetic qualities and lasting durability. By following each step carefully, you can create stunning artworks that stand the test of time.
Gather the necessary materials and tools before you start preparing the copper surface for painting. These will ensure the process is efficient and the surface is properly prepared.
Proper cleaning is the first and crucial step to ensure that paint adheres well to the copper surface. Start by removing all dirt, grease, oxidation, and tarnish from the copper surface using a mild detergent mixed with warm water. Thoroughly rinse the copper with clean water to remove detergent residues, then dry it with a clean, lint-free cloth to prevent water spots.
For stubborn tarnish, use household remedies like lemon and salt or commercial copper cleaners. Apply the cleaner and scrub gently until the tarnish is gone. Wipe the surface with alcohol to remove any remaining oils or residues. This ensures the surface is completely clean and ready for painting.
Sanding the copper surface is essential for creating a texture that helps the paint adhere better. Lightly sand the copper using gentle, even strokes. This creates a rough texture that helps paint stick better and prevents peeling. Be careful not to over-sand, as deep scratches and unevenness can occur. After sanding, wipe the surface again with alcohol to remove dust and debris.
Gesso is an optional but recommended primer that enhances paint adhesion and durability on copper.
Gesso is a primer that creates a slightly textured surface for paint to adhere to. It is commonly used in art to prepare surfaces for painting. Select a high-quality gesso suitable for metal surfaces. Acrylic gesso is a popular choice due to its quick drying time and non-toxic properties. Apply two thin, smooth coats of gesso to the copper surface. Allow each coat to dry thoroughly before applying the next. Once the gesso is completely dry, the copper surface is ready for painting.
Painting copper can enhance its appearance, protect it from oxidation, or achieve a specific design aesthetic.
Metallic copper paints provide a metallic sheen that mimics copper, such as Rust-Oleum Specialty Metallic Copper Spray Paint, known for its excellent adherence and realistic finish. Conductive copper paints contain substances like graphite and are used in applications requiring electrical conductivity, such as electroforming. Metallic acrylic paints, like Stuart Semple’s COPPERIEST COPPER, offer a true metallic finish that can adhere to almost any surface, providing a realistic copper look for various artistic and decorative projects.
Proper preparation is crucial for a durable and attractive finish. Start by cleaning the surface with a mild detergent and warm water to remove dirt, grease, or oxidation. Rinse and dry thoroughly. Lightly sand the copper with medium to fine grit sandpaper (e.g., 220 grit) to create a texture that helps the paint adhere better. Apply a primer suitable for metal, such as Zinsser, to enhance paint adhesion and durability. Apply the primer evenly and let it dry completely.
Test the paint on a small patch first to ensure good adhesion and the desired color. Apply multiple thin coats for better coverage and a smoother finish. Work in a well-ventilated area to avoid fumes and achieve even application.
Begin by applying a thin, even base coat of paint to the prepared copper surface. For acrylics, choose a color that complements the final desired hue, such as Burnt Umber for a warm, coppery base. If using oil paints, earth tones like ochres work well for the first layer. Allow the base layer to dry completely before moving on to the next step, which may take a few hours to overnight depending on the type of paint used and environmental conditions.
Creating depth and richness involves building up multiple thin layers of paint, which enhances the color and adds dimension. Apply each layer thinly and evenly, allowing it to dry before adding the next to prevent smudging and ensure proper adhesion. Use slightly different shades for each layer to mimic natural variations in copper.
Use lighter shades, such as Cadmium Yellow or a metallic paint like Hashut Copper, to create highlights in areas where light would naturally hit the surface. For shadows, use darker tones like Burnt Umber or a mix of your base color with a small amount of black in areas less exposed to light. This step brings out the natural reflective qualities of copper and adds a three-dimensional feel to the painting.
Add fine lines and textures to enhance realism and visual interest. Use a fine-tipped brush for intricate details like tiny scratches or patina effects, and experiment with different tools such as sponges or old toothbrushes to create varied textures.
Once you are satisfied with the layers, highlights, and details, it’s time to add the finishing touches to your painting. Apply a clear varnish to protect the paint and enhance its appearance. Varnish also prevents oxidation and keeps the colors vibrant over time. Allow the varnish to dry thoroughly in a dust-free environment, which can take several hours to a day depending on the type of varnish used.
When painting copper, making certain mistakes can affect the quality and longevity of your work. Here are some common pitfalls and how to avoid them:
Skipping or rushing the cleaning and sanding process can lead to poor paint adhesion. Ensure the copper surface is thoroughly cleaned and sanded to create a proper texture for the paint to stick.
Applying thick layers of paint can lead to cracking and peeling, so use thin, even layers and allow each to dry completely before adding the next.
Skipping primer can reduce paint adhesion and durability, so consider using it unless your paint is specifically formulated for metals.
Adding final touches to your copper painting can greatly enhance its appearance and protect it. Here are some steps to follow:
Applying a clear varnish or sealant designed for metal surfaces helps protect your artwork from oxidation and damage. This step also enhances the colors and provides a durable finish.
Use fine brushes for intricate details and textures. Experiment with different tools like sponges or old toothbrushes to create varied effects and add depth to your painting.
Follow these practical tips to ensure your copper painting project is successful:
Test the paint on a small patch of copper first to ensure good adhesion and the desired color. This can help you avoid surprises and adjust your technique if necessary.
Painting in a well-ventilated area is crucial for safety and ensures even paint application. Good ventilation helps disperse fumes and allows the paint to dry properly.
Choose soft, synthetic brushes for smooth blending and precise application. They work well with both acrylic and oil paints and help achieve a polished finish.
Even with careful preparation and painting, you may encounter some issues. Here are solutions to common problems:
If the paint isn’t adhering well, it might be due to improper surface preparation. Ensure the copper is clean and sanded. If necessary, apply a primer to improve adhesion.
Uneven paint can occur if layers are applied too thickly or the surface isn’t properly primed. Use thin layers and ensure each is dry before adding the next. Sand lightly between layers if needed.
If you’re new to painting copper, keep these additional tips in mind:
Begin with a small piece of copper to practice your technique before moving on to larger projects. This helps build confidence and refine your skills.
Carefully follow the manufacturer’s instructions for your paints and primers. Each product may have specific guidelines that ensure the best results.
Explore tutorials and resources to continually improve your technique. The more you practice and learn, the better your copper paintings will become.
One of the most common issues when painting copper is paint peeling or flaking off. This usually occurs due to improper cleaning or residual grease and oil on the copper surface.
Copper’s smooth and non-porous nature can make it difficult for paint to adhere properly without proper surface preparation.
If areas of copper are exposed to air without a protective layer, they will oxidize and change color over time, affecting the appearance of the paint job.
A rough or uneven paint surface can result from applying thick or multiple coats of primer or paint unevenly.
For copper accessories that are handled frequently, such as rings, the paint can chip or peel due to wear and handling.
Below are answers to some frequently asked questions:
To prepare copper for painting, start by thoroughly cleaning the surface. Begin with medium to fine grit sandpaper to remove any oxidation and create a textured surface for better paint adhesion. After sanding, wipe the copper with isopropyl or denatured alcohol to remove any dust, oils, and contaminants. It’s important to wear gloves during this process to prevent transferring fingerprints or oils to the clean surface.
For optimal results, consider applying a primer. Use 1-2 thin coats of a suitable primer, such as lead or titanium white, diluted with oil. This helps the paint adhere better and provides a smoother surface. Once the primer is dry, you may lightly sand it with fine grit sandpaper for an ultra-smooth finish.
By following these steps, you’ll ensure your copper surface is well-prepared for painting, leading to a more durable and visually appealing finish.
For painting copper, it’s essential to select paints specifically formulated for metal surfaces to ensure proper adhesion and durability.
For indoor projects, water-based or acrylic paints are suitable. These types of paints are easier to clean up, dry quickly, and provide a good finish for interior copper items.
For outdoor projects, oil-based paints are recommended due to their durability and resistance to weather conditions. They offer better protection against the elements, making them ideal for copper surfaces exposed to the outdoors.
Always ensure that the copper surface is properly cleaned and primed before applying the paint to achieve the best results.
To paint copper, follow these step-by-step instructions:
First, clean the copper surface thoroughly. Wash it with mild detergent and warm water to remove any dirt and grease, then rinse and dry it with a clean cloth. Remove any tarnish using household items like lemon and salt or a commercial copper cleaner.
Next, sand the copper using medium to fine grit sandpaper, such as 220-grit. This creates a rough texture that enhances paint adhesion and removes oxidation. Be sure to wear clean gloves while handling the copper to prevent oils from your hands from contaminating the surface.
After sanding, clean the copper again with isopropyl or denatured alcohol to remove any dust or residue. Continue to handle the copper with clean gloves to avoid fingerprints.
Applying a primer is optional, but it can enhance paint adhesion and durability. If you choose to use a primer, apply two thin coats and allow them to dry completely. You can wet-sand the primer with linseed oil and fine grit sandpaper for a smoother finish if desired.
For painting, use oil-based paints as they adhere well to copper and provide durability. Apply the base layer evenly, covering the entire surface to prevent oxidation. Build up layers of paint as needed, allowing each layer to dry before adding the next.
By following these steps, you can achieve a beautiful and durable painted copper surface.
Priming copper is indeed necessary before painting to ensure proper adhesion and durability of the paint. Copper is a smooth metal, and without a primer, paint may not adhere well, leading to peeling or chipping over time. Priming creates a middle layer that enhances paint adhesion and also helps prevent oxidation, which can cause a green patina that affects the paint’s appearance.
To prime copper, first clean and roughen the surface using sandpaper or a wire brush to remove any grease or oxidation and create texture. Then, apply a primer specifically designed for metals, ensuring an even layer and allowing it to dry completely. This preparation step is crucial for achieving a durable and visually appealing painted copper surface.
To achieve realistic highlights and shading on painted copper, begin by understanding copper’s unique reflective properties. Copper has a warm reddish-orange hue and reflects light strongly, creating distinct contrasts between highlights and shadows.
Start by applying the highlights first. Use a mixture of bright red and orange to represent the intense, shiny areas where light hits the copper directly. Make these highlight areas slightly larger than needed, refining them later by blending.
Next, paint the base color using warm reddish-brown or orange tones to mimic copper’s natural color. For shadows, use deep warm colors like dark brown or dark reddish-brown. Avoid pure black, as it can appear unnatural on copper.
Incorporate reflections and multiple planes to capture how light interacts with the surface. Add slight color variations and reflected light in shadowed areas. Refine highlights by blending edges softly into midtones and add small touches of white or ivory on the brightest spots for the highest shine.
Maintain a consistent light source to ensure strong contrasts and avoid over-blending to keep some crisp edges, enhancing the metallic look. This method will help create a realistic depiction of copper with convincing highlights and shading.
To fix paint adhesion problems on copper, start by addressing any oxidation on the surface. Copper forms an oxide layer when exposed to air, which can prevent paint from sticking properly. Clean the copper thoroughly using a commercial copper cleaner or a mixture of lemon juice and salt to remove tarnish and oxidation. After cleaning, rinse the surface well with water.
Next, sand the surface with fine-grit sandpaper (220-320 grit) in a circular motion to create a rough texture that helps the paint adhere better. Applying a primer specifically designed for non-ferrous metals like copper is crucial. This primer enhances adhesion and durability of the paint.
When painting, use paint formulated for metal surfaces and apply in multiple thin coats, allowing each coat to dry completely before applying the next. For added protection, once the paint is fully dry, seal the surface with a clear lacquer to prevent further oxidation and ensure the longevity of the paint job. By following these steps, you can effectively resolve paint adhesion issues on copper.

