How to Solder Aluminum to Steel: Step-by-Step Guide
Ever wondered how to seamlessly join two seemingly incompatible metals like aluminum and steel? Whether you’re an intermediate DIY enthusiast…
Soldering aluminum to copper might seem like a daunting task for beginners, but with the right guidance and tools, it’s entirely achievable. Whether you’re looking to tackle a DIY project or enhance your skill set for professional applications, understanding the best techniques and essential tools is crucial. This complete beginner’s guide will walk you through every step of the process, from preparing your metals to selecting the right flux and solder. Along the way, you’ll learn how to troubleshoot common issues and ensure your joints are strong and reliable. Ready to dive in and discover the secrets to successful soldering? Let’s get started!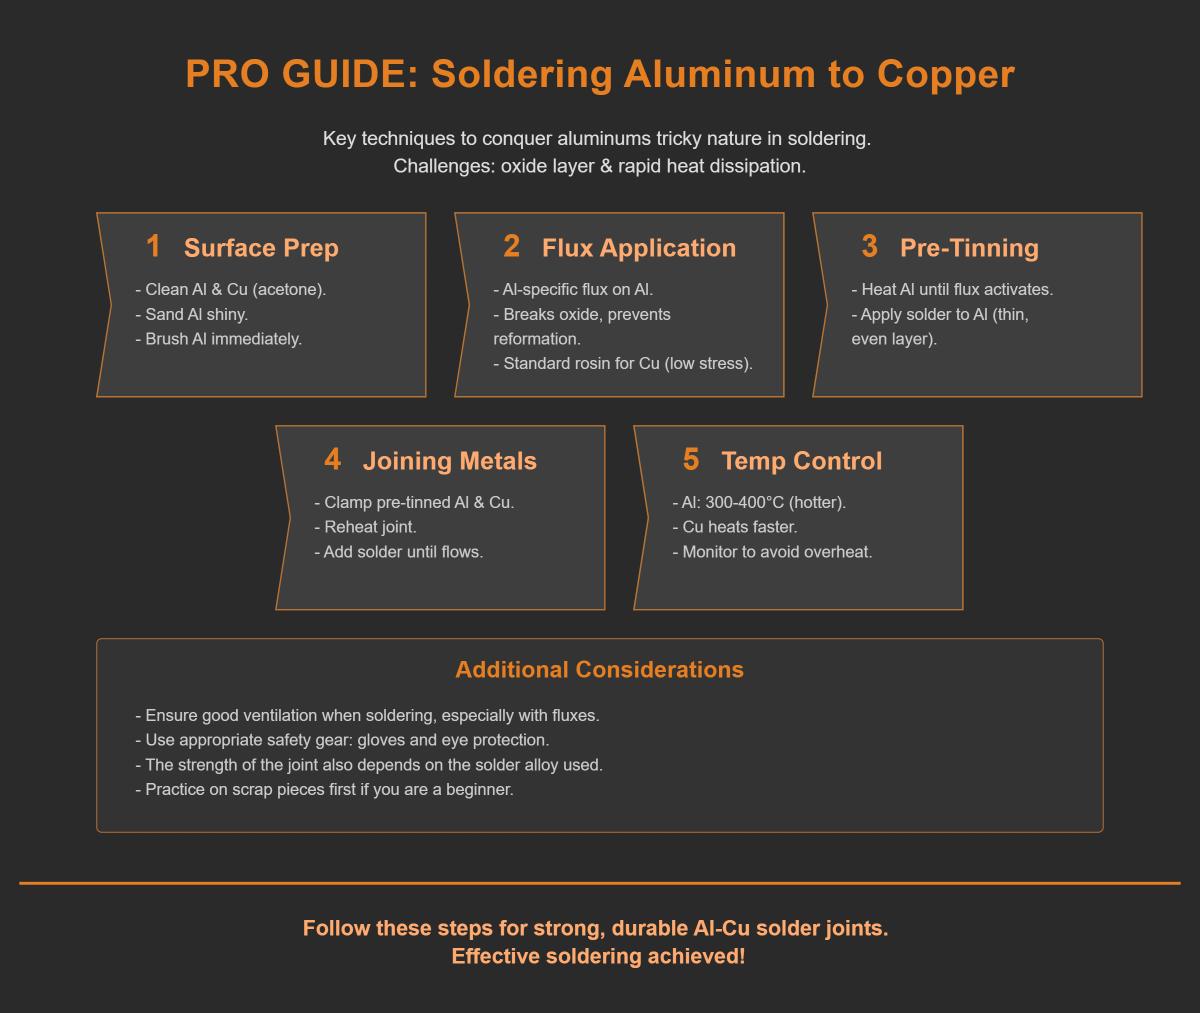
Aluminum and copper are essential metals in various industries due to their unique properties. Aluminum is lightweight, has excellent corrosion resistance, and is highly conductive, making it ideal for applications in electronics and aerospace. Copper, on the other hand, is highly conductive, both electrically and thermally, and is widely used in electrical wiring and plumbing systems. Soldering these metals together can be challenging but is essential for creating reliable connections in many applications.
Proper cleaning of aluminum and copper surfaces is crucial for successful soldering. Start by removing dirt and oils using a mixture of water and baking soda or a commercial cleaning solution. Then, scrub the surfaces with a wire brush or fine sandpaper to eliminate oxidation and any previous solder residues. Rinse thoroughly with clean water and ensure the metals are completely dry before proceeding.
After cleaning, handle the metals carefully to avoid re-oxidation. Wear gloves to prevent transferring oils from your hands and work quickly to apply flux and solder before the surfaces can re-oxidize.
Aluminum forms an oxide layer quickly when exposed to air, which can prevent proper solder adhesion. To address this, use a flux designed for aluminum to break down the oxide layer and pre-tin the surface with a thin layer of solder.
Aluminum and copper have different thermal conductivities, which can affect soldering. Gradually warm both metals using a propane torch or induction heater to ensure uniform heat distribution and reduce thermal stress. Choose a high-temperature solder alloy to create a strong and durable bond.
To successfully solder aluminum to copper, you’ll need a specific set of tools designed for this task. Below is a list of essential soldering tools and their functions, specifically tailored for beginners looking to get started with this process.
A soldering iron or torch is essential for heating the metal surfaces. The choice depends on the scale of the work and the precision required; a soldering iron is ideal for smaller, more precise tasks, while a torch suits larger areas or thicker materials. Managing the temperature is crucial, as overheating can damage the metals or the solder itself.
Choosing the right solder is crucial for a strong aluminum-to-copper connection. Tin-zinc alloys and lead-free solders like tin-silver or tin-zinc are commonly used for their effectiveness.
Flux is crucial when soldering aluminum because it removes the oxide layer, allowing the solder to adhere better. Effective products include Kapp Golden Flux and LaCo Aluminum Flux paste.
A magnifying glass aids in inspecting solder joints for any defects or irregularities. This tool is particularly useful for beginners to ensure that the connections are clean and secure.
Wire cutters are essential for preparing the aluminum and copper ends, ensuring they are trimmed to the correct length and free of irregularities that could affect soldering.
Soldering wick is used to remove excess solder from the joint. This tool is helpful for correcting mistakes and ensuring that the solder does not overflow, which could lead to weak connections.
When choosing soldering tools, consider the quality and durability of each item. Investing in reliable tools can make the soldering process smoother and more efficient. Look for brands and products that are well-reviewed and specifically designed for soldering aluminum to copper. This ensures not only a better outcome but also a safer working environment.
Equipped with the right tools, soldering aluminum to copper becomes a manageable task even for beginners. Each tool plays a specific role in ensuring that the process is effective and the final joint is strong and reliable. By understanding and utilizing these essential tools, you’ll be well-prepared to tackle your soldering projects with confidence.
Flux is a crucial chemical cleaning agent used in soldering to remove oxidation from metal surfaces, ensuring a strong bond. It is essential for preparing aluminum and copper surfaces, which can develop oxide layers that inhibit proper soldering.
Choosing the right flux and solder is crucial for effective soldering. Specialized Aluminum Fluxes, like Superior 1260 or 1261, are designed to break down the oxide layer on aluminum, allowing the solder to adhere properly. These organic-based, chloride-free fluxes are ideal for use with aluminum, copper, and brass. Organic-based fluxes are preferred for aluminum due to their ability to penetrate the oxide layer without leaving corrosive residues.
Various solder alloys are specially designed to effectively join aluminum to copper. Tin-Zinc (Sn-Zn) alloy has a low melting point (approximately 240°C–290°C) and provides strong adhesion to aluminum, making it ideal for applications where lower temperatures are beneficial. Tin-Silver (Sn-Ag) alloy is known for its higher strength and thermal resistance, suitable for durable joints that need to withstand higher temperatures. Specialized low-temperature solders, such as SN100C (tin-copper) or Super Alloy 1, are designed to bond at lower temperatures, around 350°F, making them suitable for sensitive applications.
Proper application of flux is key to successful soldering. Follow these steps:
Once the flux is applied, it’s time to solder:
Watch out for these common problems and their solutions:
Ensure you have the right tools and follow safety precautions:
Before starting the soldering process, gather all necessary materials and tools. This includes aluminum-copper-specific solder, high-activity flux, isopropyl alcohol, a soldering iron or torch, emery cloth or sandpaper, a brass brush, heat-resistant gloves, and safety goggles. Having all these items ready will streamline the soldering process and ensure safety.
Proper cleaning of the metal surfaces is crucial for successful soldering.
Use emery cloth or sandpaper to remove the oxide layer from the aluminum surface, then wipe it with isopropyl alcohol to remove any grease or debris.
Polish the copper surface with sandpaper until it is shiny. Clean the copper with isopropyl alcohol to ensure it is free from oxidation.
Apply flux to both aluminum and copper surfaces immediately after cleaning. Flux prevents the reformation of oxide layers and ensures good adhesion of the solder. Use a generous layer of flux on the aluminum, as it oxidizes rapidly.
Heat the aluminum and copper surfaces with a soldering iron or torch, then apply solder to the pre-fluxed areas until it flows evenly.
Align the aluminum and copper components using clamps or helping hands. Reheat the tinned areas until the solder melts, then press the pieces together firmly.
Heat the joint evenly using a soldering iron or torch. Feed solder into the seam until it fully wets both surfaces, being careful to avoid overheating, which can damage the components.
Allow the joint to cool naturally without disturbing it. Once cooled, wash off any residual flux with warm water or a damp cloth to prevent corrosion.
By following these steps and tips, you can effectively solder aluminum to copper, creating strong and reliable joints suitable for various applications.
In HVAC systems, soldering aluminum to copper is often required for joining refrigerant lines to aluminum components, ensuring reliable connections in air conditioning units.
Begin by cleaning both the aluminum and copper surfaces to remove grease and contaminants. Use acetone or a commercial degreasing solution to eliminate oils and impurities. Then, mechanically remove the oxide layers using a wire brush or fine sandpaper until the surfaces are shiny.
Apply an acid-based flux to both metals. This type of flux is effective in preventing the formation of oxide layers during heating. Ensure the flux covers the entire joint area for optimal results.
Use a propane torch to heat the joint evenly. An Al-Cop braze rod, which contains integrated flux, simplifies the process. Heat the joint until the solder flows, ensuring full coverage of the joint. Maintain a circular motion with the torch to distribute heat evenly.
Soldering aluminum to copper is common in electrical wiring, especially when connecting aluminum wires to copper terminals in older home wiring systems.
Pre-tin the cleaned aluminum wires by coating them with solder first, creating a solderable surface that facilitates better bonding with copper terminals. Physically secure the metals using a crimp connector or terminal block before soldering to maintain alignment and ensure a strong mechanical connection.
Use a soldering iron with at least 60 watts of power to ensure strong connections. Feed rosin-core solder into the joint to ensure proper wetting and adhesion.
DIY enthusiasts often need to solder aluminum to copper when repairing aluminum radiators or copper-aluminum hybrid cooling systems in vehicles.
Select a zinc-based or Al-Cop alloy solder designed for high thermal stress. These solders provide strong bonds capable of withstanding the demands of automotive applications.
Preheat the joint area with a hot air gun to reduce thermal shock and distribute heat evenly. This step is crucial for achieving a reliable bond.
Use solder rods with built-in flux to simplify the process, especially in tight spaces. This integrated flux ensures consistent application and reduces the need for additional flux.
In consumer electronics, soldering aluminum heat sinks to copper PCB traces is a common task to ensure efficient heat dissipation.
Choose lead-free solder with a melting point below 250°C to prevent damage to sensitive electronic components. Tin-silver or tin-zinc alloys are suitable for this application.
Use a temperature-controlled soldering iron with a fine tip to limit heat spread and ensure precise soldering. This helps avoid overheating adjacent components.
Use no-clean flux sparingly to prevent residue from affecting electronic circuits. No-clean fluxes are designed to leave minimal residues, ensuring the integrity of the soldered joint.
Below are answers to some frequently asked questions:
Soldering aluminum to copper can be challenging due to aluminum’s oxide layer and its rapid heat dissipation. Here are the best techniques to ensure a successful soldering process:
By following these steps, beginners can effectively solder aluminum to copper, achieving strong and durable joints.
To solder aluminum to copper effectively, several essential tools are necessary:
These tools are essential for beginners to ensure a successful and safe soldering process when joining aluminum to copper.
To avoid common mistakes when soldering aluminum to copper, follow these key tips:
Firstly, use the correct soldering iron and tip. A temperature-controlled iron (60W–100W) with a chisel or wedge tip ensures even heat distribution, crucial for aluminum’s high thermal conductivity.
Surface preparation is vital. Clean aluminum with a stainless-steel brush or sandpaper, then apply aluminum-specific flux to prevent re-oxidation. Clean copper with isopropyl alcohol or a flux pen.
Apply flux correctly by using a high-activity flux rated for aluminum. Ensure a thin layer is applied to both surfaces before heating.
Heat the joint, not the solder. Preheat the aluminum-copper interface for a few seconds before feeding solder into the heated joint, allowing it to flow via capillary action.
Use the right solder, such as aluminum-compatible solder (e.g., Zn-Sn or Sn-Zn alloys), to ensure proper adhesion.
Control solder quantity to avoid excess, which can create bridges or blobs. Aim for a smooth, concave fillet covering the joint.
Avoid cold joints by maintaining iron contact until the solder fully wets both metals. Preheat thick aluminum with a hot plate if necessary.
By following these steps, you can minimize common soldering mistakes and achieve strong, reliable joints. Practice on scrap pieces first to refine your technique.
Soldering aluminum to copper is essential in several industries due to the need for durable and conductive connections between these metals. In electronics and sensor manufacturing, this technique is used to ensure stable electrical connections, which are vital for the functionality of electronic circuits and sensors. In solar panel manufacturing, soldering aluminum to copper allows efficient energy transfer and structural stability, crucial for the performance and longevity of solar panels. HVAC and plumbing systems benefit from this process by creating robust connections in tubing that transport refrigerants or fluids, ensuring leak resistance and mechanical strength under varying pressures and temperatures. Additionally, renewable energy systems like wind turbines rely on these soldered connections for durability against mechanical stresses. Artists also use this technique for metal sculpting and ornamental designs, combining aluminum and copper creatively to produce intricate and appealing works. Understanding these applications helps beginners appreciate the significance of soldering aluminum to copper in practical, industrial contexts.
Using Super Alloy 1 is recommended for soldering aluminum to copper due to its unique properties that cater specifically to beginners. Firstly, it operates at a low working temperature of 350°F (177°C), which is significantly lower than the melting points of both aluminum and copper. This minimizes the risk of damaging the base metals during soldering. Super Alloy 1 is compatible with multiple metals, allowing for efficient bonding without the need for specialized fluxes or separate solders for each type of metal. It also features a visual flux indicator; the honey-colored flux turns root beer brown when the optimal temperature is reached, aiding beginners in controlling temperature effectively. Additionally, Super Alloy 1 can be used with versatile heat sources like propane torches or heat guns, making it accessible for those new to soldering without requiring advanced welding skills. These characteristics make Super Alloy 1 an ideal choice for beginners soldering aluminum to copper.
When soldering aluminum to copper, it is important to be aware of industry standards to ensure a successful and compliant connection. One key standard is the use of fluxes that meet ASTM B813 requirements, which ensures they are suitable for soldering applications without causing corrosion. Additionally, following the IPC J-STD-001ES guidelines is beneficial, especially for controlling corrosion, which is crucial when soldering metals like copper and aluminum.
For the soldering materials, using specialized alloys such as KappAloy15™, which are designed for copper-aluminum joints, is recommended. This choice helps in achieving a reliable bond while addressing the different melting points and thermal conductivities of the two metals. Ensuring proper documentation and adherence to specifications like the CDA-S001 standard, which covers joint preparation and handling, is also essential for maintaining quality and safety in soldering practices.

