How to Spot Weld with a MIG Welder: A Step-by-Step Guide
Imagine creating flawless, strong welds that hold your metal projects together seamlessly. If you’re an intermediate welder looking to master…
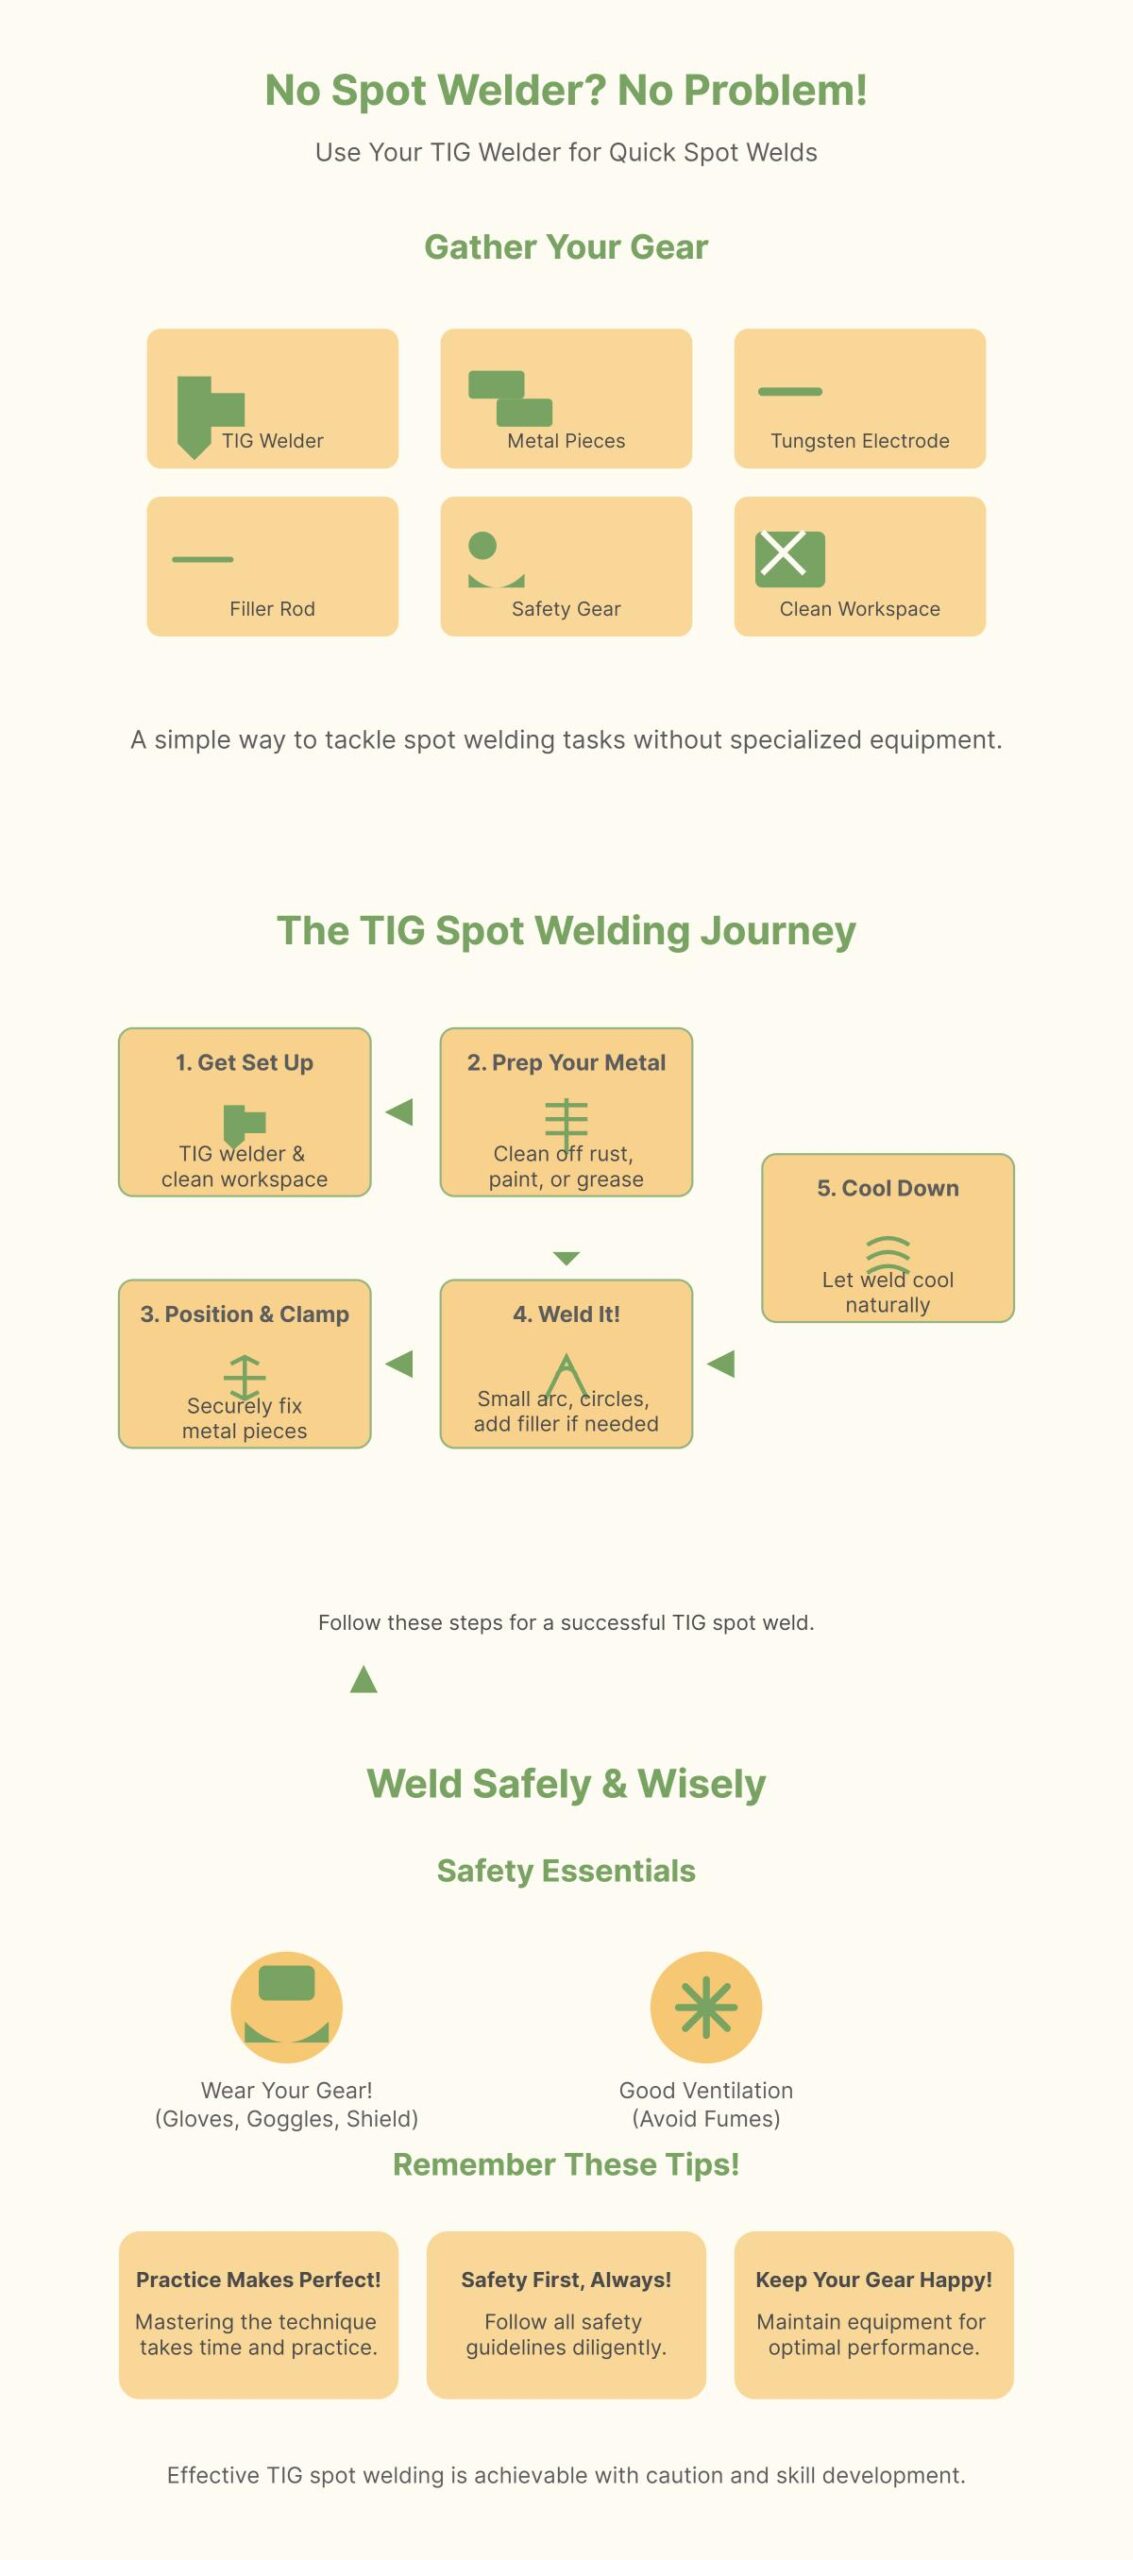
Ever wondered if you can achieve those seamless, strong spot welds without investing in a dedicated spot welder? Good news—you absolutely can! Whether you’re a DIY enthusiast or just stepping into the world of metalworking, this comprehensive guide will walk you through the process of spot welding using a TIG welder. You’ll discover the essential tools and materials you need, learn how to set up your TIG welder for optimal results, and follow a step-by-step guide to ensure your welds are flawless. Ready to dive in and master the art of spot welding with a TIG welder? Let’s get started!
Spot welding, or resistance spot welding, joins metal sheets by applying pressure and heat from an electrical current to the targeted area. The heat generated by the resistance to the electrical current causes the metal to melt and fuse together, forming a weld.
Spot welding is a crucial technique in metalworking due to its efficiency and the strength of the welds it produces. It is widely used in various industries, including:
In the automotive industry, spot welding is extensively used to join sheet metal components. This method is particularly valuable for assembling car bodies and other structural parts because it provides strong, reliable welds quickly and with minimal distortion to the metal sheets.
Spot welding is also common in the electronics industry for assembling small components and connections within electronic devices. Its ability to create precise, localized welds makes it ideal for delicate applications where other welding methods might cause damage.
General manufacturing and metal fabrication industries utilize spot welding for its speed and efficiency. It is employed in the production of appliances, furniture, and various metal structures, where quick and strong welds are necessary.
First, align the metal sheets correctly and clamp them between two copper alloy electrodes. These electrodes apply pressure to hold the sheets together and ensure good electrical contact. A high current is then passed through the electrodes. The resistance to the electrical current at the contact points generates heat, which causes the metal to melt. After a short period, the current is stopped, and the molten metal cools down and solidifies, forming a strong weld.
The pressure applied by the electrodes must be carefully controlled. Too little pressure can result in weak welds, while too much pressure can cause the metal to crack or the electrodes to deform the metal sheets.
The amount of current used in spot welding depends on the thickness and type of metal being welded. A higher current is needed for thicker materials, while a lower current is sufficient for thinner sheets.
The duration for which the current is applied, known as the weld time, is critical. A short weld time may not generate enough heat to form a strong weld, while a long weld time can cause excessive melting and potential burn-through.
Spot welding remains a fundamental technique in modern metalworking, offering a blend of efficiency, strength, and simplicity that is unmatched by many other welding methods.
Spot welding with a TIG welder requires a variety of tools and materials to ensure the process is both effective and safe.
A TIG (Tungsten Inert Gas) welder is a versatile piece of equipment that provides precise control over the welding process, making it ideal for intricate tasks. The tungsten electrode, a non-consumable part of the TIG welder, generates the necessary heat for welding. Argon gas, used as a shielding gas, protects the weld area from contamination, ensuring a clean and strong weld.
Metal pieces intended for welding must be clean and free of contaminants. Common metals used in spot welding include steel, stainless steel, and aluminum. Copper clamps are used to hold the metal pieces in place during the welding process due to their excellent conductivity and resistance to welding heat. Filler rods may be required to add material to the weld joint, especially when working with thicker metals or specific welding applications.
Wearing a welding helmet, welding gloves, and flame-resistant clothing is crucial for protection from the intense light, heat, and sparks. Always keep a fire extinguisher nearby for emergencies.
Use a wire brush to clean metal surfaces, an angle grinder to prepare edges and smooth rough areas, and accurate measuring tools like calipers and rulers to ensure precise alignment and spacing of the metal pieces.
TIG (Tungsten Inert Gas) welding is a precise and clean welding method that can be adapted for spot welding. TIG spot welding differs from traditional spot welding by using an electric arc instead of resistance and pressure, providing more control and flexibility, particularly with thin or delicate materials.
To successfully set up a TIG welder for spot welding, you will need the following equipment:
Set up in a clean, well-ventilated workspace. Position your materials securely to prevent movement during welding. Remove all flammable materials from the vicinity to avoid fire hazards.
Place the TIG torch at the weld spot. Strike the tungsten electrode against the workpiece and quickly pull back to keep a steady arc. This process requires a steady hand and practice to perfect.
Use the foot pedal or the amperage control on your TIG welder to modulate the heat input. Apply short bursts of current to avoid overheating and ensure a clean weld. This step is crucial to prevent burn-through and achieve a strong weld.
Keep a close eye on the weld pool formation. Adjust your parameters as needed to ensure the weld pool is forming correctly. This observation will help you avoid common welding defects such as incomplete fusion or excessive spatter.
If you do not have a dedicated spot welder, you can still perform spot welding using a TIG welder. Ensure you use high current and apply good contact pressure with clamping to achieve effective welds. Alternatively, plug and rosette welding techniques can be employed with MIG welders as another option.
Following these steps and precautions will help you set up your TIG welder for effective spot welding, allowing you to handle various metalworking projects with precision and control.
Using a TIG welder for spot welding is a precise and clean method, ideal for a range of materials and applications. This guide will walk you through the process step-by-step, providing a detailed approach to achieve high-quality spot welds without specialized equipment.
Ensure the workspace is clean, well-ventilated, free from flammable materials, and that the materials to be welded are clamped securely to prevent movement.
Adjust the welding current based on material thickness, such as 100 amps for thin materials.
To convert a standard TIG torch into a makeshift spot welder, modify a TIG cup by cutting a small slit to allow gas escape, concentrating the arc for spot welding.
Position the TIG torch at the spot where you want to weld. Strike the tungsten electrode against the workpiece to initiate the arc, then quickly withdraw to establish a stable arc.
Control the arc duration using a timer or manually to ensure an accurate spot weld. Typically, a shorter arc time is used for spot welding.
When using a TIG welder for spot welding, adhering to general safety measures is essential to prevent accidents and ensure a safe working environment.
Always wear the right protective gear, including:
Ensure your TIG welder is properly grounded, use dry insulating gloves, and follow all electrical safety codes to prevent electrical shocks. Regularly inspect cables and connections for any signs of wear or damage.
Ensure your workspace is well-ventilated to avoid inhaling harmful fumes, particularly when welding coated materials. Good ventilation also reduces the risk of gas accumulation.
Setting up your TIG welder correctly is crucial for both safety and effectiveness.
Adjust your TIG welder to a high current setting to simulate the concentrated heat needed for spot welding. This setting helps achieve the necessary fusion between metal pieces.
Apply enough clamping pressure to maintain good contact between the metal pieces and electrodes, ensuring a solid weld similar to traditional spot welding.
Clean the metal surfaces thoroughly to remove rust, grease, or other contaminants. A clean surface ensures a strong and consistent weld, reducing the risk of defects.
Following these safety tips can help minimize risks during the welding process.
Never touch hot metals or the TIG torch with bare hands to prevent burns. Always use appropriate tools or wait for the metal to cool before handling.
Ensure that only trained personnel operate the TIG welder for spot welding. Proper training minimizes risks and ensures the correct technique is used.
Keep the work area clear of flammable materials. Good ventilation is crucial to prevent the buildup of harmful gases and to provide a safe working environment.
Understanding common hazards and how to avoid them is key to safe welding practices.
Welding can produce flying sparks or particles that can cause eye injuries. Always wear protective eyewear to shield your eyes from these hazards.
Ensure all electrical connections are secure and follow safety guidelines to prevent electrical shocks. Regularly inspect your equipment for any signs of damage.
Stay alert to moving parts and ensure they are properly guarded to prevent pinching injuries. This is especially important when using clamping devices and other mechanical tools.
TIG welding offers exceptional precision, making it perfect for spot welding tasks that require high accuracy. Precise heat control ensures consistent, high-quality welds on even delicate materials. This precision is especially useful for intricate welds in industries like electronics and aerospace.
One of the significant advantages of TIG welding is its cleanliness. TIG welding generates minimal spatter and smoke, leading to cleaner welds and less post-weld cleanup. This cleanliness is advantageous for projects that demand a pristine finish, such as in the automotive and decorative metalworking sectors.
TIG welding is highly versatile and can handle a wide range of materials, including stainless steel, aluminum, copper, and titanium. This versatility makes TIG welding suitable for diverse spot welding needs across various industries. Whether working on thin aluminum sheets or robust stainless steel structures, TIG welding provides reliable performance.
The welds produced by TIG welding are precise and defect-free, with excellent mechanical properties. This high-quality weld is essential for industries requiring welds with high integrity and aesthetic appeal. The superior quality of TIG welds ensures structural reliability and longevity, making it a preferred choice for critical applications.
TIG welding requires a high skill level due to the need for manual coordination of the torch, filler material, and shielding gas. This complexity makes TIG welding more challenging for beginners and less efficient for high-volume production. Proper training and practice are essential to master TIG welding techniques.
TIG welding is slower than other methods, which can affect production speed. The meticulous nature of TIG welding makes it less suitable for high-volume manufacturing environments where speed is crucial. This slower process may not be ideal for projects requiring rapid turnaround times.
The equipment and gases used in TIG welding can be more expensive than other welding methods, such as spot welding. This higher cost may be a barrier for small-scale or low-budget projects. The initial investment in TIG welding equipment needs to be considered when planning welding operations.
While TIG welding can handle thick materials, it may not be the most efficient method for heavy-duty applications. The time required for multiple passes to achieve deep penetration can be significant. For projects involving thick materials, alternative welding methods may offer better efficiency and speed.
A simple metal box can be a great introductory project to practice your spot welding skills.
Building a metal frame can be useful for various applications such as shelving units or structural supports.
Creating metal artwork can be a fun and creative project, perfect for showcasing your welding skills.
Spot welding with a TIG welder can be highly effective, but several common issues may arise. Understanding these problems and their solutions will help improve your welding technique.
This issue is caused by low amperage or a short arc time. Increase the amperage or extend the arc time to achieve sufficient penetration. Conversely, if the weld bead is too large, reduce the arc time or decrease the amperage. This adjustment helps achieve a smaller weld diameter without compromising penetration. Ensure you apply proper clamping pressure to maintain good contact between the metal pieces.
Contaminated metal surfaces can lead to poor weld quality. Clean the metal surfaces thoroughly with a wire brush or flap disc to remove any contaminants. Proper preparation is crucial for achieving a high-quality weld.
Ensure you apply enough clamping force using spot weld pliers for a strong weld. Adequate clamping pressure is essential to maintain good contact between the metal pieces and achieve a robust weld.
Use the correct shielding gas (typically argon) and tungsten electrode for the material you’re welding. Ensuring the proper setup will help stabilize the welding arc and improve the overall quality of the weld. Adequate shielding gas coverage will prevent contamination of the weld pool from atmospheric gases such as oxygen and nitrogen, which can cause defects like porosity and brittleness.
For those without a dedicated spot welder, a TIG welder can be adapted for spot welding. Alternatively, MIG welders can perform plug or rosette welds by filling pre-drilled holes in the upper metal sheet.
Below are answers to some frequently asked questions:
To spot weld without a dedicated spot welder, you can use alternative methods like a TIG welder. Here’s a brief guide:
Using a TIG welder for spot welding can be effective, but it requires practice to master the technique. Ensure you follow all safety guidelines and maintain your equipment for optimal performance.
To spot weld with a TIG welder, you will need the following tools and materials:
These tools and materials will help you perform spot welding effectively using a TIG welder.
Spot welding with a TIG welder can be effective, but it has different strengths and weaknesses compared to using a dedicated spot welder. A spot welder uses resistance welding, which is quick and efficient for joining thin metal sheets, making it ideal for mass production. It relies on electrical resistance to generate heat and fuse metal parts, which is fast and cost-effective.
On the other hand, a TIG welder uses a non-consumable tungsten electrode and shielding gas (usually argon) to protect the weld area. This method offers better control over heat input and produces cleaner, stronger welds with minimal spatter. However, TIG welding requires more skill and patience, as it involves precise control of the arc and heat.
Using a TIG welder for spot welding has its benefits and drawbacks.
Benefits:
Drawbacks:
To maintain your TIG welder for optimal performance, start by familiarizing yourself with its components, such as the torch, power source, foot pedal, and gas supply system. Perform daily inspections to check for wear or damage on the torch, cables, and gas hoses. Ensure the power source is correctly calibrated for both AC and DC currents and that there are no gas leaks.
Implement a regular maintenance schedule, including daily system checks, weekly or monthly thorough inspections of cables and hoses, and an annual comprehensive system check. Store your TIG welder in a clean, dry environment to prevent corrosion. Use high-quality consumables like electrodes and gas lenses to avoid premature wear.
Regularly inspect tungsten electrodes for contamination or wear, cleaning and sharpening them as needed. Ensure the foot pedal functions correctly and the power source remains stable for precise amperage control. Always follow safety guidelines, including proper grounding and secure gas cylinder storage, to prevent accidents and ensure optimal performance.
Yes, you can use other types of welders for spot welding, although a dedicated spot welder is typically preferred for its precision and efficiency. Two common alternatives are MIG and TIG welders.
With a MIG welder, you can create plug or rosette welds to mimic spot welds. This involves drilling holes in the top metal piece and filling them with weld material. This method requires precise control but can produce strong, reliable welds.
A TIG welder can also be adapted for spot welding. By using a sacrificial TIG cup and a custom tool to clamp the metal pieces together, you can achieve spot welds. Adding silicon bronze for brazing can enhance the weld’s quality. This method offers flexibility but requires manual dexterity and a creative approach.
Both methods can be effective substitutes for spot welding, provided you understand the techniques and limitations of each welder. Proper safety gear, ventilation, and training are essential to ensure safety and proficiency.

